Since last semester (Fall 2022), for a Museum Methods class, I myself, along with fellow graduate students Laura Broughton and Liz McCreary, have been working on a hallway exhibit, focusing on 3D printing in archaeology; essentially how 3D printing could be used for educational or preservation purposes, and the issues that can occur when using this technology. Although we began this as an attempt to study how 3D printing could be useful in archaeological contexts or for archaeological purposes, the project really turned into how 3D printing is not as simple as it sounds. The exhibit is not done yet but be sure to keep an eye out for it in McElhaney Hall, or on our Instagram page, for when it is finished!
Scanning a sherd!
Initially we set out to scan and print different artifacts such as lithics (flaked versus groundstone), ceramics (incised versus painted), and bone, from two different 3D printers. We wanted to compare prints from both printers and the prints of different materials and decorations, in order to determine which printers were better and which materials printed better and could be of more use to the field of archaeology. However, we realized we needed to incorporate a 3D scanner first, and thus to save time and money for filament, we decided to print from one 3D printer. As scanning was more time consuming and more difficult than anticipated, we had to cut back on what materials we selected to print as well.
So, what is 3D printing? It is defined as being a process that makes a physical object based on a three-dimensional digital model, usually through the use of a machine that places down thin layers of a material in rapid succession. In archaeological contexts, 3D printing has been used at sites like Çatalhöyük to record phases of archaeological investigation in 3D, to make the excavation process virtually reversible through a virtual simulated environment. 3D scanning has been used to create models of Bronze Age tools and weapons from Ireland, in order to conduct experimental archaeological research as the models undergo use-wear processes and investigate the development of damage on replica objects versus the ancient ones. Some researchers have even suggested using 3D digitization of use for both diagnostic and collection management purposes. While the vast number of artifacts and accessibility to full collections, technical knowledge of how to scan objects, and the cost of the software and machines, have proven to be obstacles in the pursuit of giving more accessibility to those around the world to more collections through 3D printing, it is a valiant attempt at preserving the archaeological record in a new way and format. The Carnegie Museum of Natural History in Pittsburg, Pennsylvania has even used a handheld 3D scanner to digitize collection pieces that are printed and used in a museum exhibit. 3D scanners can be used to even restore damaged cultural objects or monuments, to get a better sense of what they looked like while intact. These are just a few of the ways that 3D printing and scanning are being incorporated into the world of archaeology and museums.
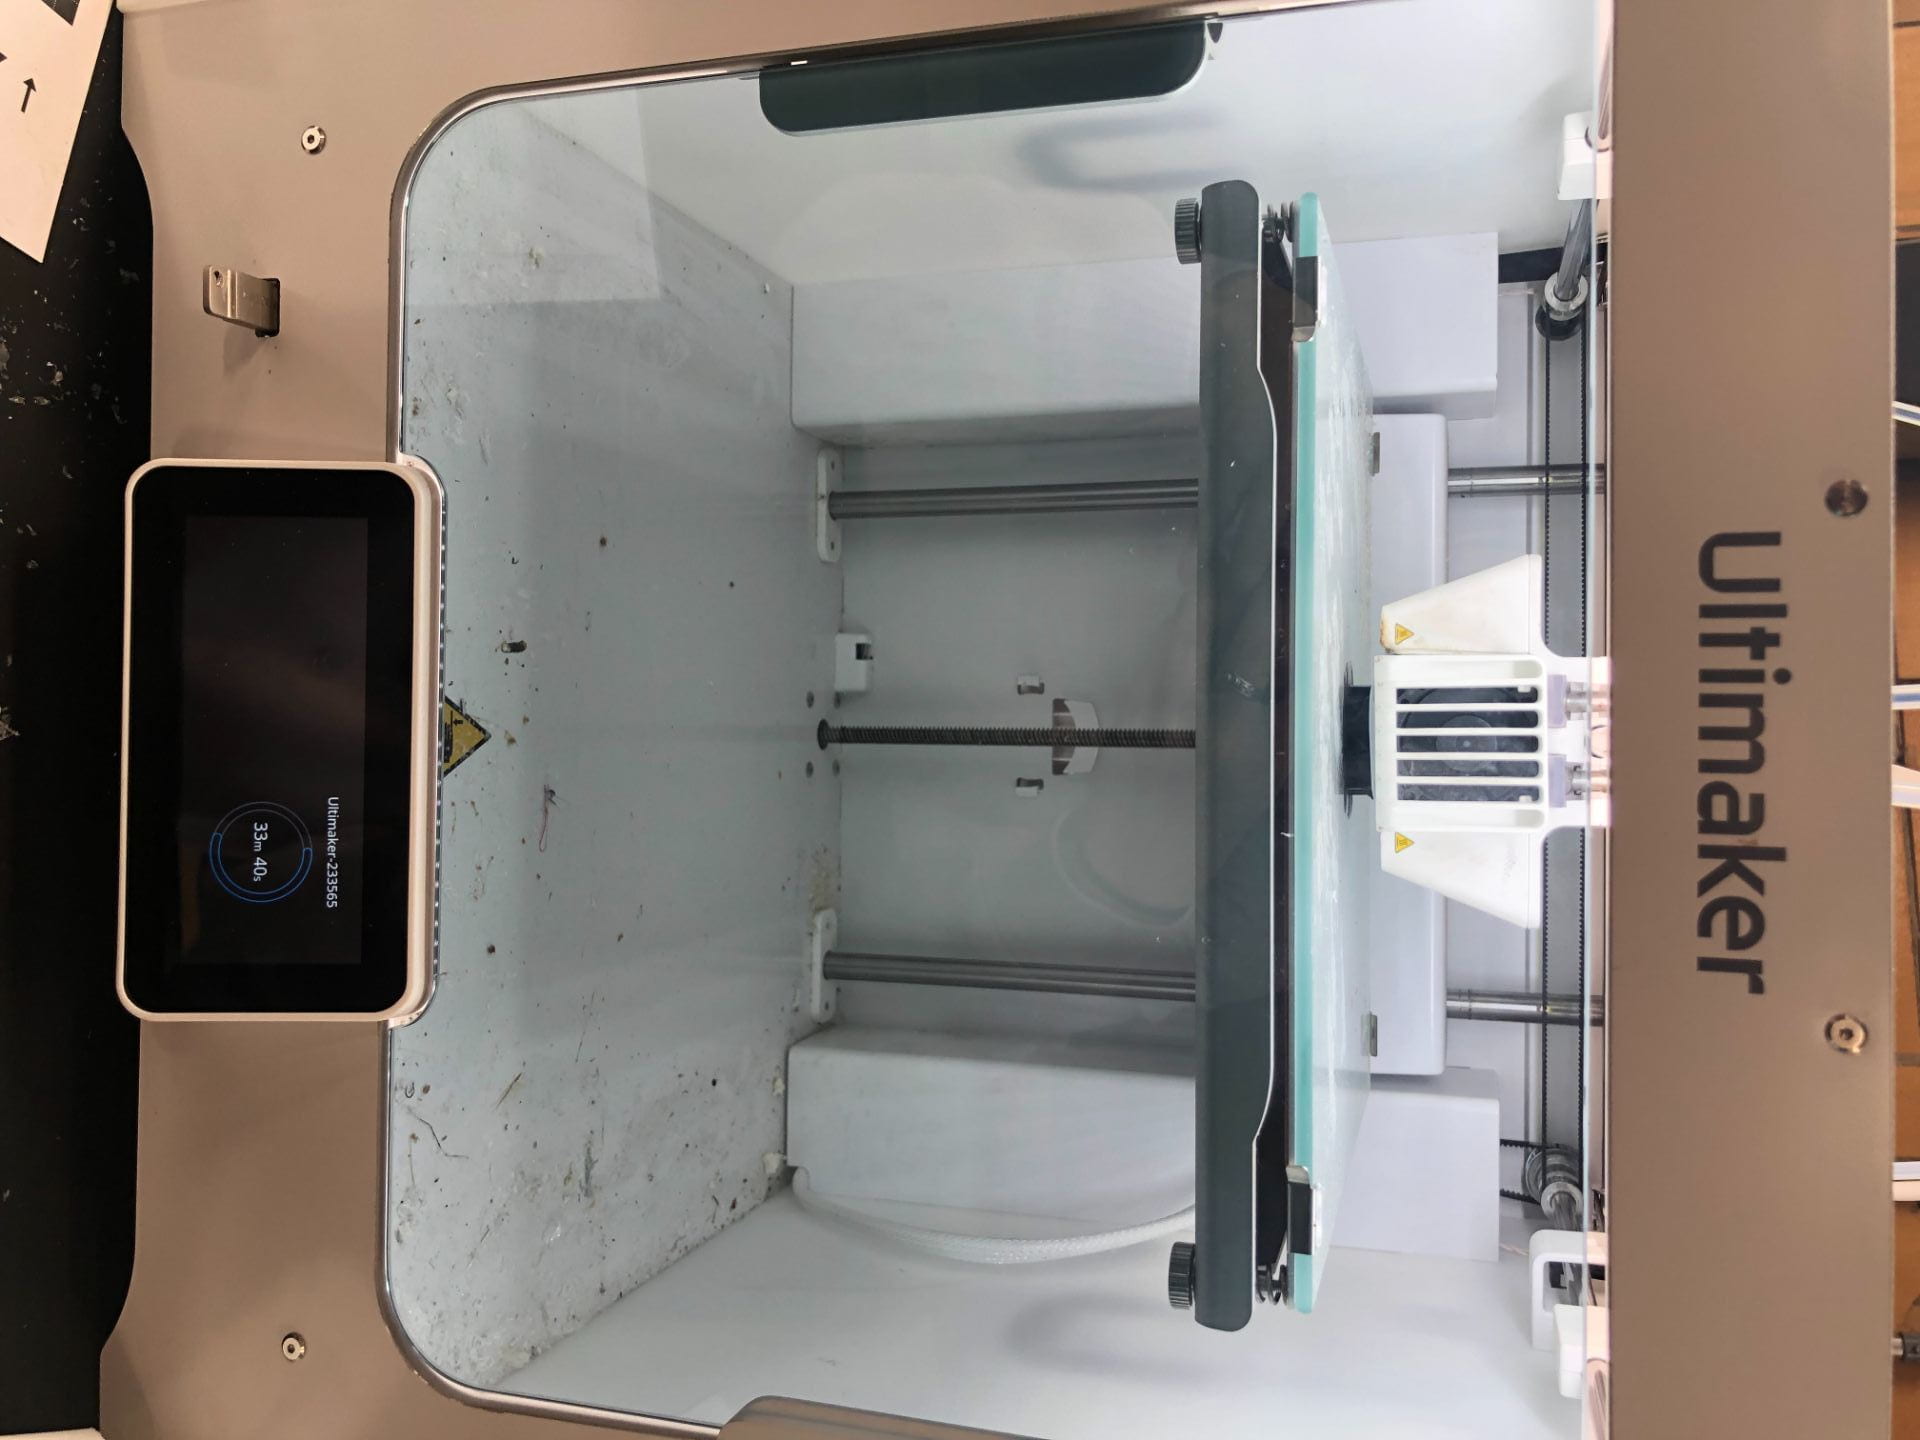
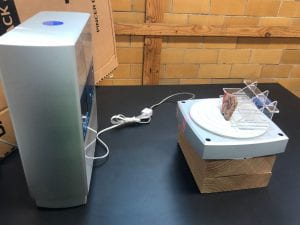
The Ultimaker S3 3D printer.
For this project here at IUP we used a NextEngine, Ultra HD, 3D scanner and or 3D printing we used an Ultimaker S3, both found in Indiana University of Pennsylvania’s STEAMSHOP, along with the appropriate corresponding filament which we were able to get from Amazon. IUP’s STEAMSHOP is an interdisciplinary digital fabrication lab that gives students, staff, and faculty alike the opportunity to engage in things like pressing vinyl on shirts and stickers, laser cutting logos, and of course, 3D printing objects. We extend a huge thanks to Maker in Residence, Johnathan Grengs, for assisting us during the undertaking of this project!
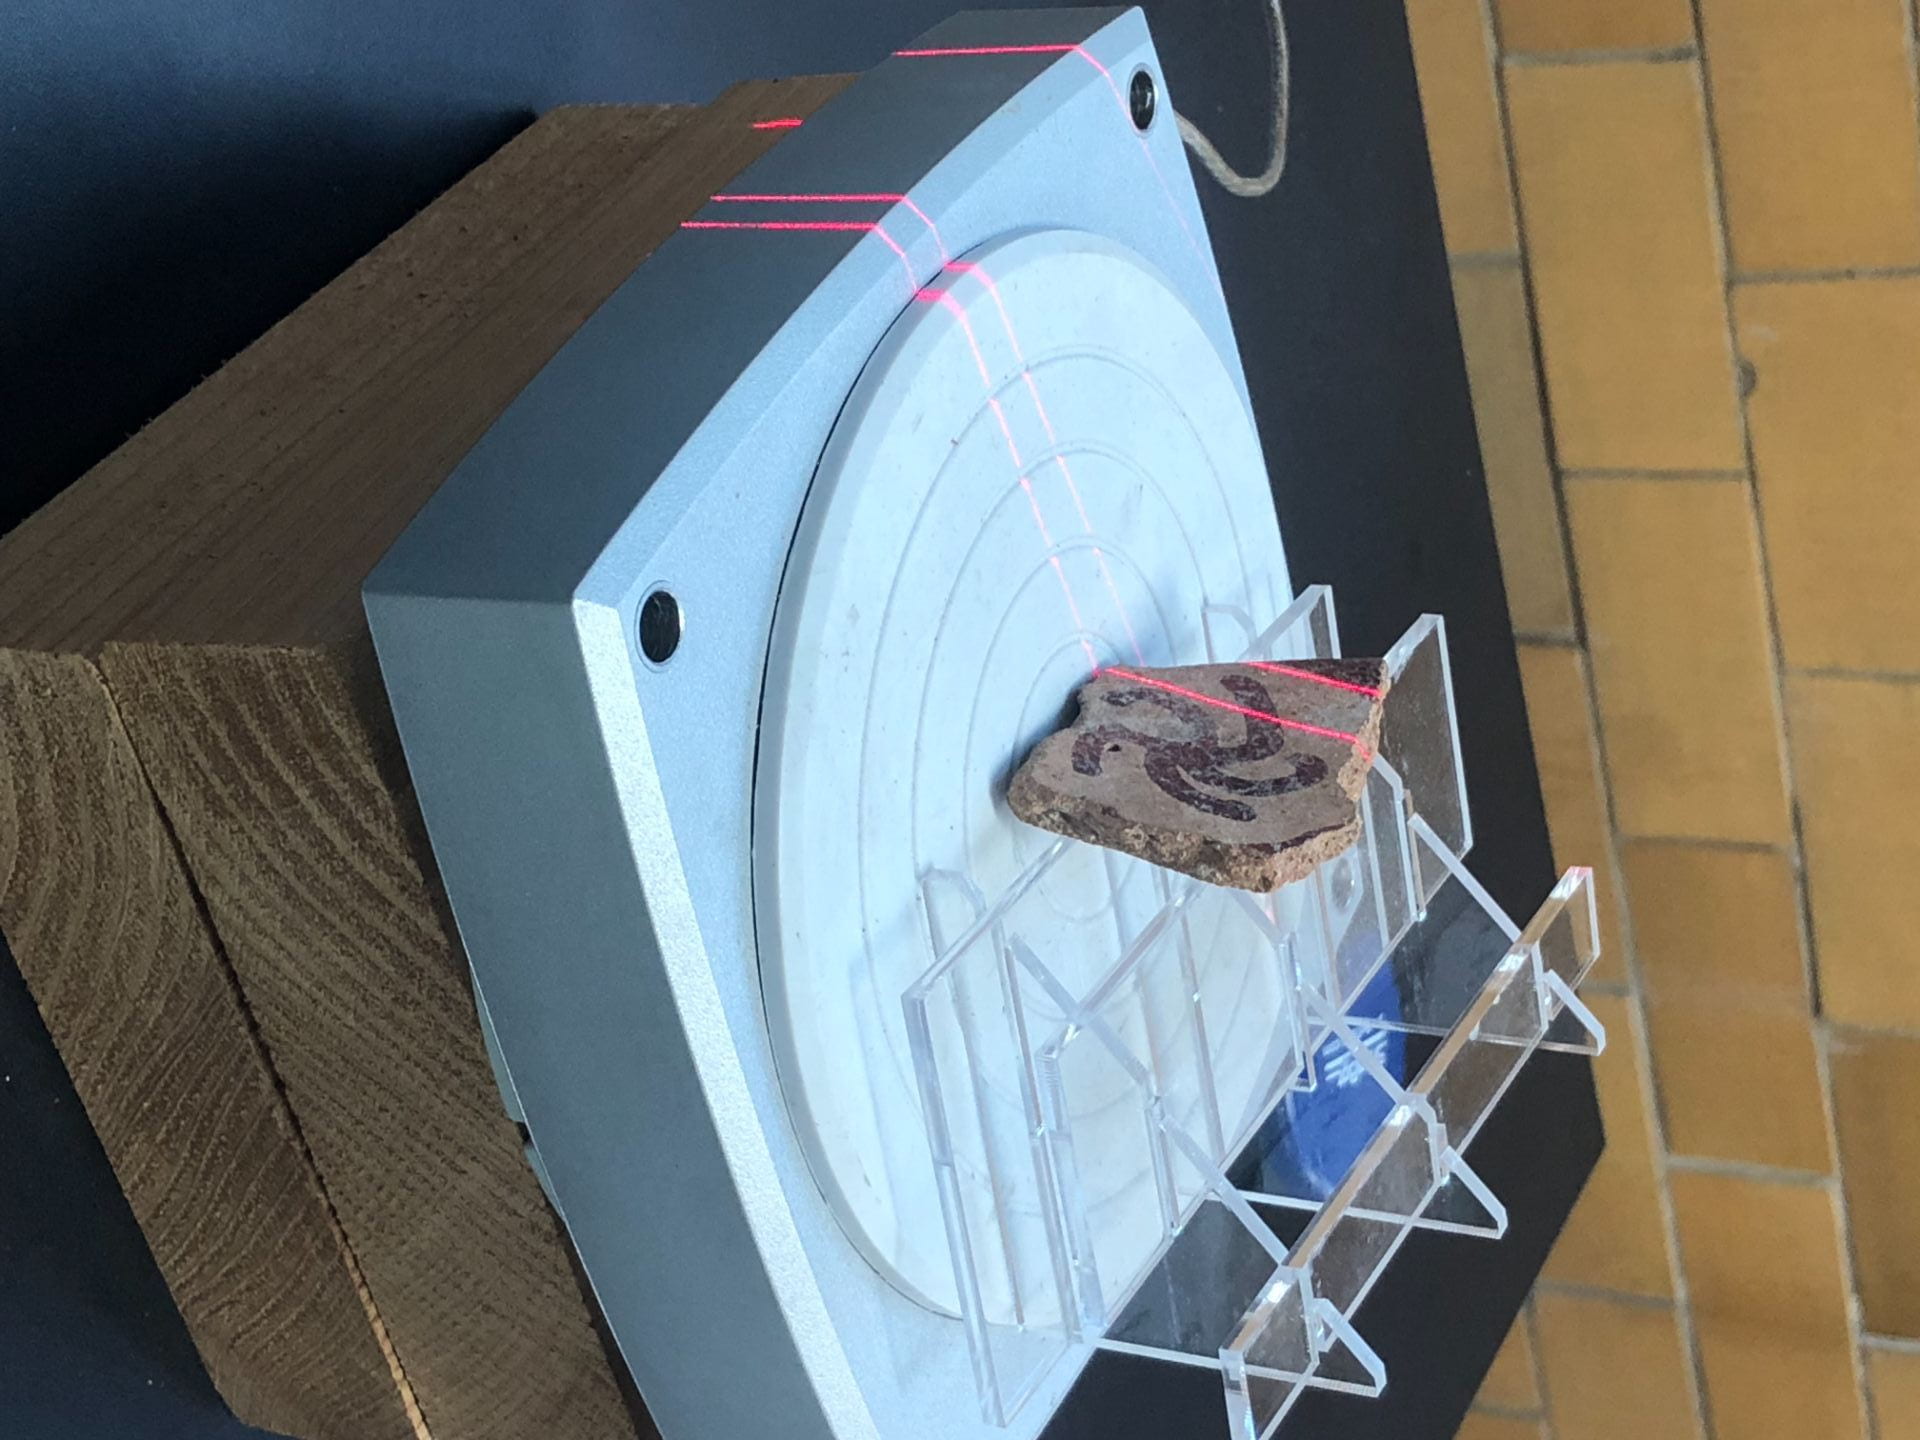
The lasers scanning the sherd on the acrylic stand.
We selected several prehistoric artifacts for scanning and printing; these included an incised ceramic sherd, a painted ceramic sherd, an arrowhead, and a quartz pendant. We set most of the artifacts on a clear acrylic stand parallel to the scanner and around ten inches away. The pendant did not require the stand. Each artifact was scanned about three times from different angles (top, bottom/back, front, and sides of the artifact), to pick up as much detail as possible. However, we started to encounter issues right from the start. First, the scans would take around half-an-hour each to complete. If the scan was incomplete or insufficient, we would have to take another, which took more time. We then needed to take of any excess data that made their way into the scan, before, taking all of the scans we had made to combine them and fuse them together.
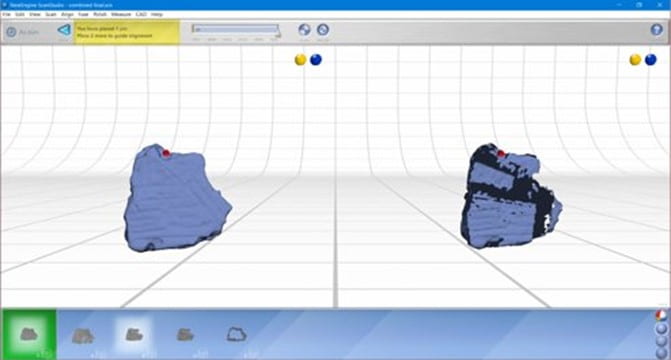
Scans being fused together.
However, sometimes the system would crash when we tried to attempt this. When it comes to errors, when we fused the scans together, we had to align each scan by placing down three points on each, attempting to put them in the same spots to match the scans together, which essentially means we could have been accidently putting the dots in different spots, thus creating an inaccurate complete scan if the fused scans were incorrectly aligned. When we first started, we also did not realize we needed to save each individual scan, so much data was lost, and many scans had to be repeated. We eventually learned to save each scan separately before bringing them all back together to be fused and then saved as one complete scan. Essentially, it was a trial-and-error process that taught us there were going to be many fluctuations in the quality of the scans taken, causing us to have to take more scans than we initially planned for, which again took up more time.
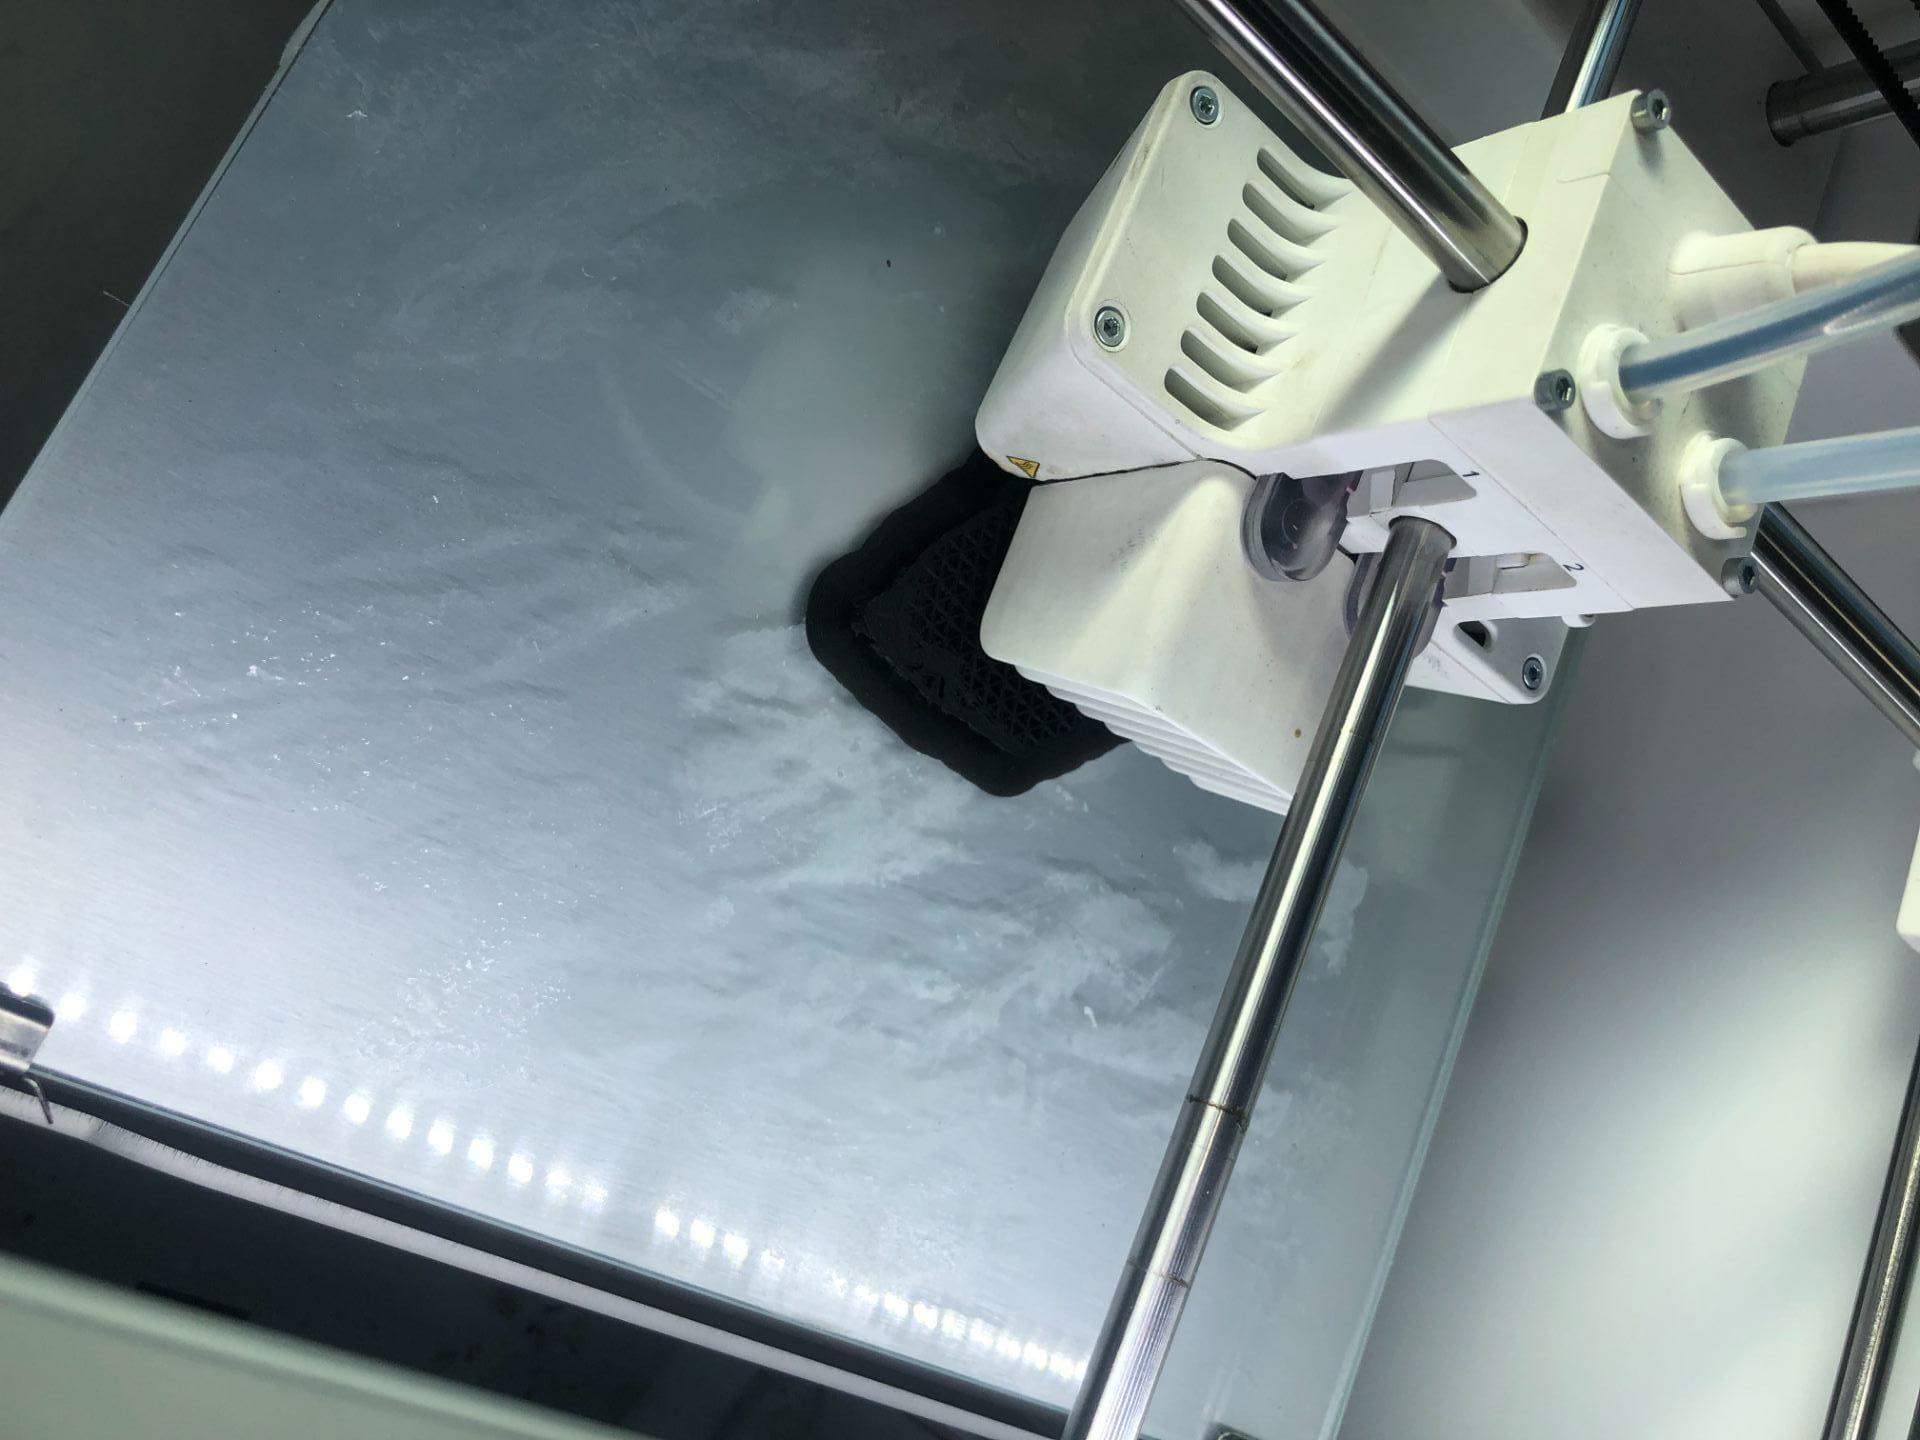
Printing a sherd to scale.
As we moved on to transfer the scans to the 3D printer, another issue was encountered. The file sizes for the scans were so big that the system processing the scans to print them, was unable to do so. Eventually Mr. Grengs was able to fix this, and we moved on to the printing of the artifacts. Again, this took time, anywhere from at one hour and fifteen minutes or up to two-and-a-half hours. Once we were able to print some of the artifacts, we were able to discern many things about the abilities and accuracy of 3D scanners and printers. For example, one of the printed items had leftover data on top of the artifact scans that we missed as it was barely perceptible on the top. The printed object had some rough lines on top, most likely caused by the acrylic stand that was picked up by the scanner and not removed during the editing and fusing process.
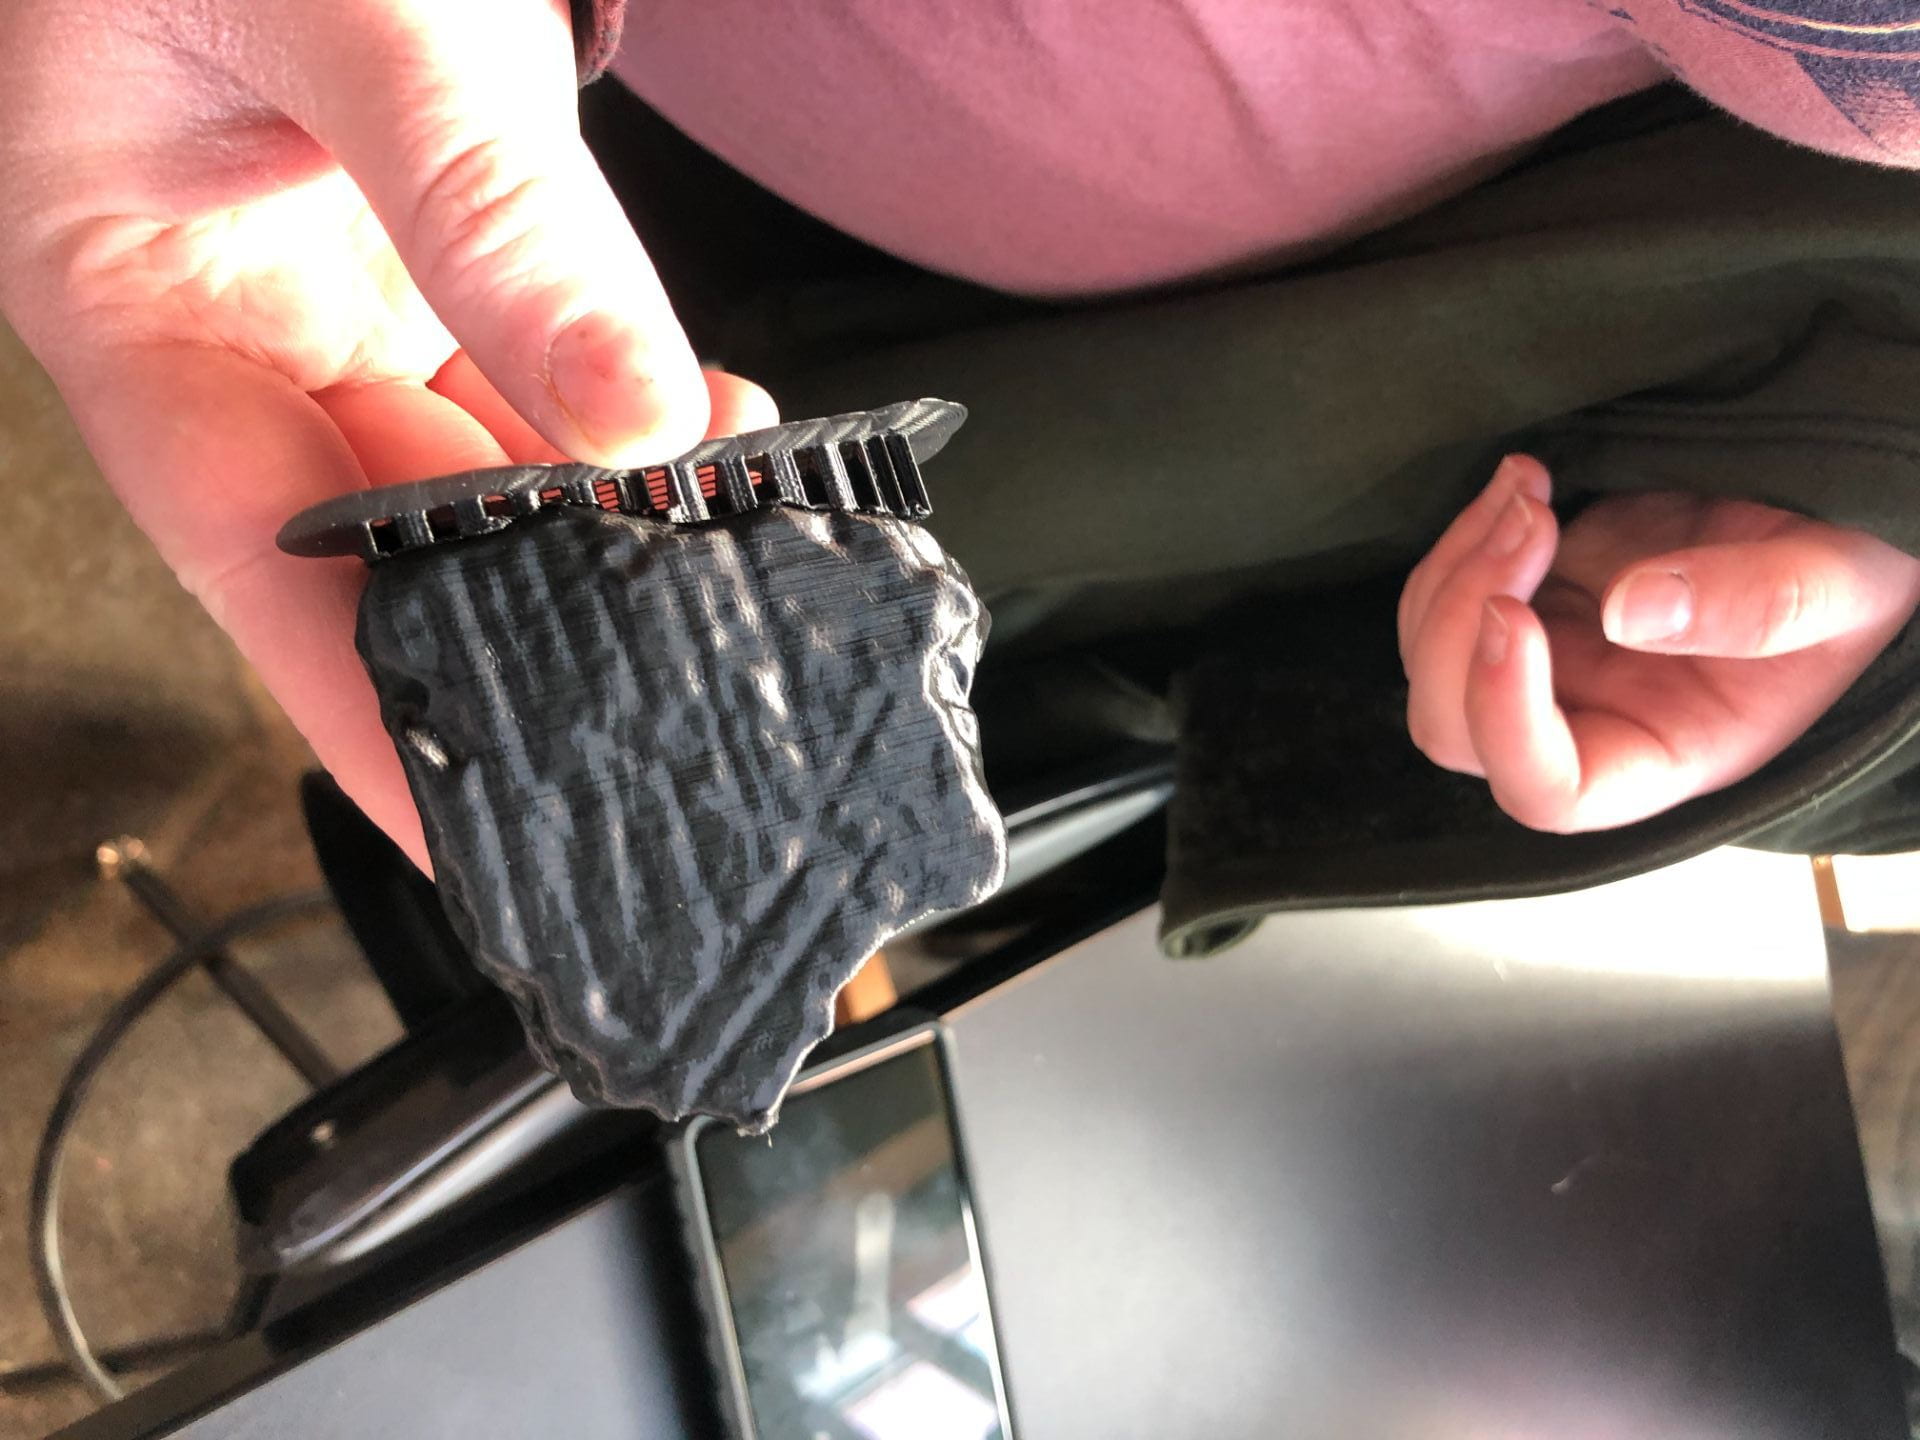
The incised sherd printed at 200% its size!
We positioned all of the scans to be printed with the best side facing upwards, in the hopes that we would get the best representation of the artifacts. The bottoms of each artifact had to be printed on a base, which then had to be pried off once cooled. However, this basically made the bottom side unrecognizable compared to the original artifact. This showed us that the position in which we print the artifact is very important. We noted that the sides always printed very smooth-like, almost beautifully, with great detail, while the top looked almost like a topographic map, showing the last of the layers that were printed. This led me to realize that it might be worth it to try to print the objects standing vertically from one side, in the hopes that we would be able to get even more detail on the top, bottom/back, front, and the sides, as well, while only sacrificing a small portion of the side, rather than the whole bottom. We did this with a sherd blown up to 200%, and it came out beautifully!
We also learned that that the quality of the prints was also dependent on the artifacts themselves. Certain artifacts worked better than others, such as the incised lines decorations showing up on the prints rather than the painted designs. And for some reason, the pendant would not scan completely, despite not needing the acrylic scan to stay upright. We suspect this had something to do with the light fracturing through the quartz pendent, throwing off the scanner. At this point in time, we have not yet been able to print the arrowhead, as the scans will not even align properly, so hopefully we will be able to get over this hurdle and get a good print of the artifact.
For those that don’t have access to the software and technology to conduct 3D printings like we do, it has to be noted that it is an expensive endeavor. While also being time consuming and riddled with the potential for errors or to make a mistake, one has to be careful when deciding whether or not this is something they wish to pursue in whatever sphere they are doing so. For those planning on conducting work with 3D printers and scanners, we want this post to serve as a source for understanding that it is a lengthy process that does not always turn out how you expect. This method could be used to create replicas or scans for the public to use or examine, it could be used by museums in exhibits, it could allow greater accessibility to collections and even allow for a more in-depth analysis of artifact features, and so much more. However, I personally believe that one must use the highest quality of software and technology for the most accurate results, but what is currently available is just not affordable or the best quality. While our replicas were to scale and recognizable as to which artifacts they were of, higher quality of tech would certainly have made a big difference. For now, we hope our exhibit will show those starting out that 3D printing is a process, one that takes many mistakes and hours to figure out.
Follow IUP Anthropology on Facebook, Twitter, and Instagram
Resources:
https://www.jstor.org/stable/pdf/10.5325/jeasmedarcherstu.2.1.0001.pdf?refreqid=excelsior%3A607eaebc6bad3a18247324a05deef839&ab_segments=&origin=&acceptTC=1
https://www.jstor.org/stable/pdf/24327507.pdf?refreqid=excelsior%3A4b56576788e90abf8501cb4b2f40b66a&ab_segments=&origin=
https://www.jstor.org/stable/pdf/26160210.pdf?refreqid=excelsior%3Ab3cde67aaa6637c68a77378d1544c100&ab_segments=&origin=